
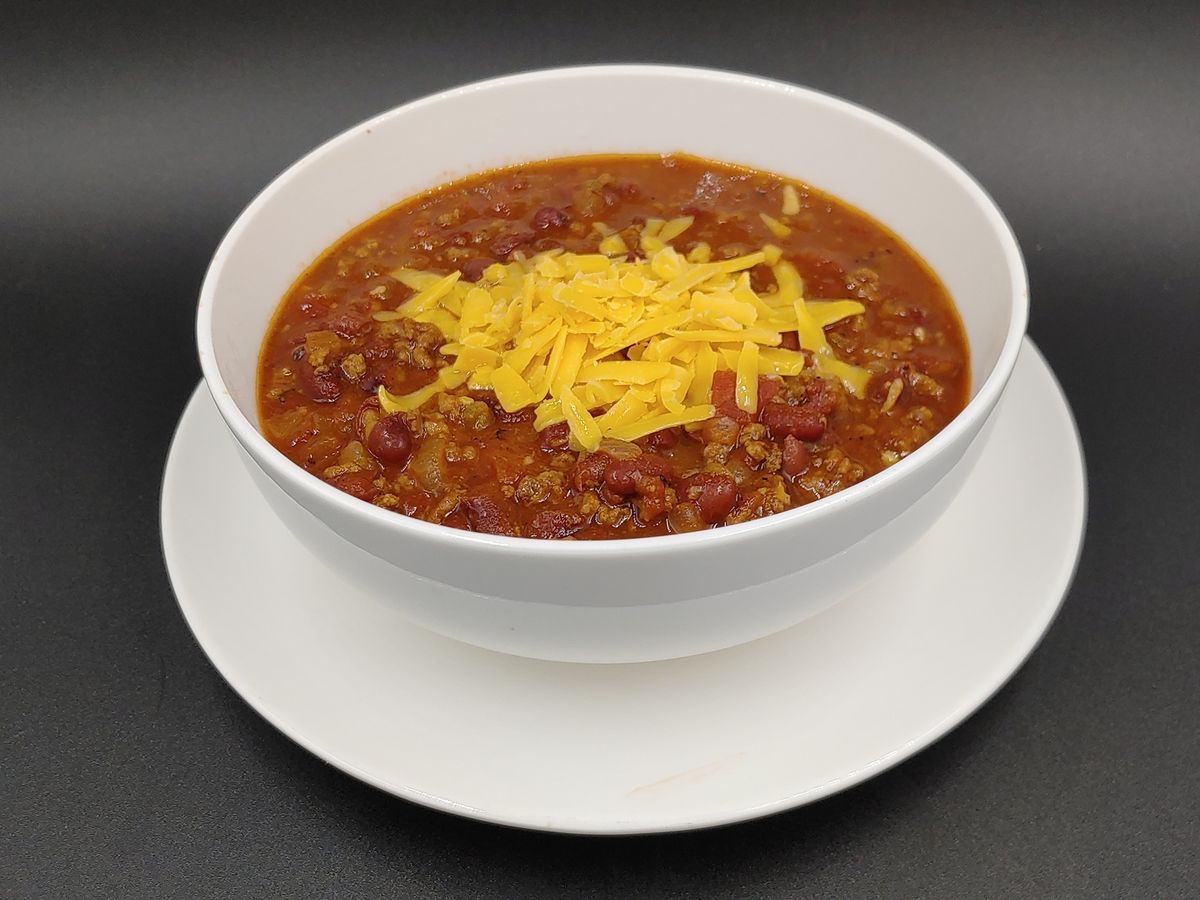
This pressure cooker chili recipe is a hearty and flavorful dish that's perfect for a cozy dinner. With a blend of spices, tender ground beef, and kidney beans, it’s a comforting meal that’s quick and easy to prepare using a pressure cooker.
While most of the ingredients in this recipe are common pantry staples, you might need to pick up a few items at the supermarket. Ground beef is a key component, and you’ll want to choose a good quality one. Chili powder and ground cumin are essential for the flavor profile, so make sure you have these spices on hand. Additionally, beef broth adds depth to the chili, so don’t skip it.
Ingredients For Pressure Cooker Chili Recipe
Ground beef: The main protein in the chili, providing a rich and hearty base.
Kidney beans: Adds texture and protein, making the chili more filling.
Diced tomatoes: Provides acidity and a fresh tomato flavor to the chili.
Onion: Adds sweetness and depth of flavor when sautéed.
Garlic: Enhances the overall flavor with its aromatic qualities.
Chili powder: The primary spice that gives the chili its distinctive taste.
Ground cumin: Adds a warm, earthy flavor that complements the chili powder.
Salt: Enhances all the other flavors in the dish.
Black pepper: Adds a bit of heat and complexity to the chili.
Beef broth: Provides a savory liquid base that ties all the ingredients together.
Technique Tip for This Recipe
To enhance the flavor of your chili, consider toasting the chili powder and ground cumin in the pressure cooker for about 1-2 minutes before adding the ground beef. This will help release their essential oils and deepen the overall taste of the dish.
Suggested Side Dishes
Alternative Ingredients
ground beef - Substitute with ground turkey: Ground turkey is a leaner option and provides a similar texture and flavor profile.
kidney beans - Substitute with black beans: Black beans offer a slightly different flavor but maintain the hearty texture needed for chili.
diced tomatoes - Substitute with crushed tomatoes: Crushed tomatoes will give a similar tomato base but with a smoother consistency.
chopped onion - Substitute with shallots: Shallots provide a milder and slightly sweeter flavor compared to onions.
minced garlic - Substitute with garlic powder: Garlic powder can be used in place of fresh garlic, though it will have a slightly different intensity.
chili powder - Substitute with cayenne pepper and paprika: A mix of cayenne pepper and paprika can mimic the heat and depth of chili powder.
ground cumin - Substitute with ground coriander: Ground coriander offers a different but complementary flavor to cumin.
salt - Substitute with soy sauce: Soy sauce can add saltiness along with a depth of umami flavor.
black pepper - Substitute with white pepper: White pepper has a slightly different heat profile but can be used similarly to black pepper.
beef broth - Substitute with chicken broth: Chicken broth provides a lighter flavor but can still add the necessary liquid and depth to the chili.
Alternative Recipes Similar to This Chili
How To Store or Freeze Your Chili
- Allow the chili to cool completely before storing. This helps prevent condensation, which can lead to a watery texture.
- Transfer the cooled chili into airtight containers. For best results, use containers that are specifically designed for freezing to maintain the quality of the chili.
- Label each container with the date and contents. This ensures you know exactly what you have and when it was made, helping you keep track of freshness.
- Store the chili in the refrigerator if you plan to consume it within 3-4 days. This keeps it fresh and ready for quick reheating.
- For longer storage, place the containers in the freezer. Chili can be frozen for up to 3 months without significant loss of flavor or texture.
- When ready to eat, thaw the chili in the refrigerator overnight. This gradual thawing process helps maintain the integrity of the ingredients.
- Reheat the chili on the stovetop over medium heat, stirring occasionally until it reaches the desired temperature. Alternatively, you can reheat it in the microwave, stirring every couple of minutes to ensure even heating.
- If the chili appears too thick after reheating, add a splash of beef broth or water to achieve the desired consistency.
How To Reheat Leftovers
For a quick and easy method, reheat the chili in the microwave. Place a portion in a microwave-safe bowl, cover it with a microwave-safe lid or a damp paper towel to prevent splatters. Heat on high for 2-3 minutes, stirring halfway through to ensure even heating.
If you prefer a stovetop method, pour the chili into a saucepan. Heat over medium heat, stirring occasionally to prevent sticking. This method allows you to monitor the consistency and add a splash of beef broth if it becomes too thick.
For those who enjoy the convenience of a slow cooker, transfer the chili to the slow cooker and set it on low for 1-2 hours. This method is perfect for reheating larger quantities and keeps the chili warm for serving.
If you have an Instant Pot or another pressure cooker, you can use the sauté function to reheat the chili. Set the cooker to sauté mode, add the chili, and stir occasionally until it reaches the desired temperature.
For a unique twist, reheat the chili in the oven. Preheat your oven to 350°F (175°C). Place the chili in an oven-safe dish, cover with foil, and bake for 20-30 minutes, stirring halfway through. This method can give the chili a slightly different texture and flavor.
If you have a sous vide machine, place the chili in a vacuum-sealed bag or a zip-top bag with the air removed. Set the sous vide to 165°F (74°C) and immerse the bag in the water bath for about 30 minutes. This method ensures even reheating without overcooking.
For a campfire or grill option, place the chili in a cast-iron skillet and heat over the fire or grill, stirring occasionally. This method adds a smoky flavor that can enhance the chili's taste.
Essential Tools for Making This Chili
Pressure cooker: Essential for cooking the chili under high pressure, which speeds up the cooking process and melds the flavors together.
Sauté function: A feature on the pressure cooker used to brown the ground beef and soften the onions and garlic before pressure cooking.
Wooden spoon: Useful for stirring the ingredients together and ensuring they are well mixed.
Measuring spoons: Necessary for accurately measuring the chili powder, ground cumin, salt, and black pepper.
Measuring cup: Used to measure the beef broth and ensure the correct liquid ratio in the chili.
Can opener: Needed to open the cans of kidney beans and diced tomatoes.
Knife: Essential for chopping the onion and mincing the garlic.
Cutting board: Provides a safe surface for chopping the onion and mincing the garlic.
Ladle: Useful for serving the hot chili once it is cooked.
Serving bowls: Used to serve the chili in individual portions.
How to Save Time on This Recipe
Pre-chop ingredients: Chop the onion and garlic ahead of time to save minutes during cooking.
Use canned beans: Opt for canned kidney beans instead of dried ones to cut down on soaking and cooking time.
Batch cook: Double the recipe and freeze half for a quick meal later.
Pre-measure spices: Measure out the chili powder, ground cumin, salt, and black pepper before starting to streamline the process.
Quick release pressure: After the natural release, use the quick release method to save additional time.
Pressure Cooker Chili Recipe
Ingredients
Main Ingredients
- 1 lb Ground beef
- 1 can Kidney beans drained and rinsed
- 1 can Diced tomatoes
- 1 cup Chopped onion
- 2 cloves Garlic minced
- 2 tablespoon Chili powder
- 1 teaspoon Ground cumin
- 1 teaspoon Salt
- 1 teaspoon Black pepper
- 1 cup Beef broth
Instructions
- 1. Brown the ground beef in the pressure cooker on sauté mode.
- 2. Add the chopped onion and minced garlic, cook until softened.
- 3. Stir in the chili powder, ground cumin, salt, and black pepper.
- 4. Add the kidney beans, diced tomatoes, and beef broth. Stir well.
- 5. Lock the lid and set the pressure cooker to high pressure for 15 minutes.
- 6. Once the cooking time is complete, allow the pressure to release naturally for 10 minutes, then quick release any remaining pressure.
- 7. Stir the chili and serve hot.
Nutritional Value
Keywords
Suggested Appetizers and Desserts
More Amazing Recipes to Try 🙂
- Fried Zucchini Recipe25 Minutes
- Eggless French Toast Recipe20 Minutes
- Reheating Pasta Recipe15 Minutes
- Potato Latkes Recipe35 Minutes
- Beignets Recipe30 Minutes
- Air Fryer Breakfast Frittata Recipe30 Minutes
- Eggless Strawberry Ice Cream Recipe6 Hours 15 Minutes
- Breaded Tenderloin Sandwich Recipe35 Minutes
Leave a Reply