
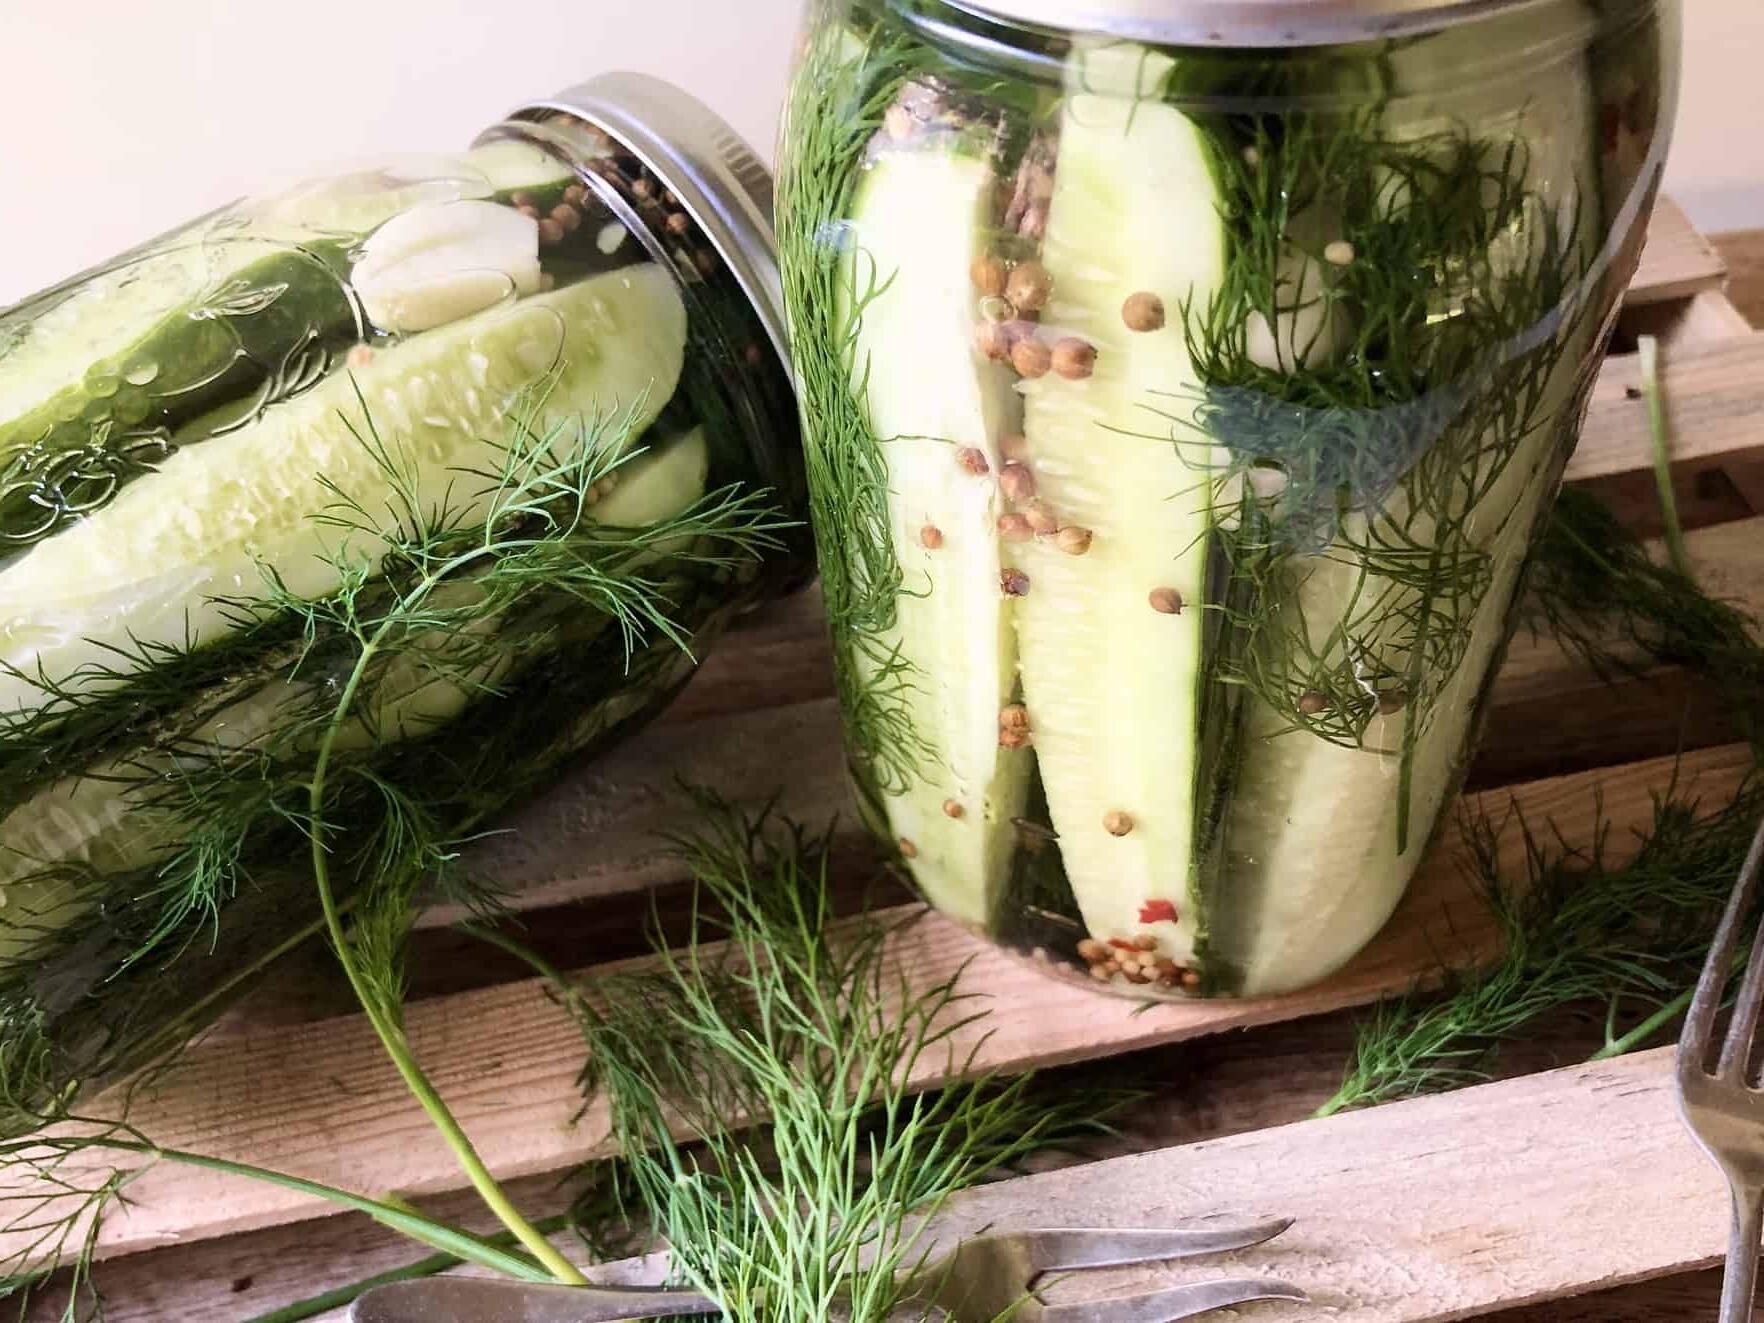
Refrigerator dill pickles are a quick and easy way to enjoy the tangy, crunchy goodness of pickles without the need for traditional canning methods. These pickles are perfect for snacking, adding to sandwiches, or serving as a side dish. With just a few simple ingredients and a bit of patience, you can have delicious homemade pickles ready to enjoy in no time.
While most of the ingredients for this recipe are common pantry staples, you may need to pick up a few items at the supermarket. Dill seeds might not be something you have on hand, but they are essential for that classic dill pickle flavor. Additionally, make sure you have fresh cucumbers and white vinegar to achieve the best results.
Ingredients For Refrigerator Dill Pickles Recipe
Water: Used as the base for the brine to help dissolve the salt and sugar.
White vinegar: Provides the necessary acidity to preserve the cucumbers and give them their tangy flavor.
Sugar: Adds a touch of sweetness to balance the acidity of the vinegar.
Salt: Essential for the brine, it helps to preserve the cucumbers and enhance their flavor.
Cucumbers: The main ingredient, providing the crunchy texture and fresh taste of the pickles.
Garlic: Adds a robust, savory flavor to the pickles.
Dill seeds: Impart the classic dill flavor that is characteristic of these pickles.
Red pepper flakes: Add a bit of heat and spice to the pickles, making them more flavorful.
Technique Tip for Making Dill Pickles
For a more intense flavor, try toasting the dill seeds and red pepper flakes in a dry skillet over medium heat for a couple of minutes before adding them to the jars. This will release their essential oils and enhance the overall taste of your pickles.
Suggested Side Dishes
Alternative Ingredients
water - Substitute with vegetable broth: Adds a richer flavor to the pickles.
white vinegar - Substitute with apple cider vinegar: Provides a slightly sweeter and fruitier taste.
sugar - Substitute with honey: Offers a natural sweetness and a different flavor profile.
salt - Substitute with sea salt: Contains more minerals and can enhance the flavor.
cucumbers - Substitute with zucchini: Similar texture and can absorb the pickling brine well.
garlic - Substitute with shallots: Adds a milder, sweeter flavor.
dill seeds - Substitute with fennel seeds: Provides a similar anise-like flavor.
red pepper flakes - Substitute with black peppercorns: Adds a different type of heat and flavor.
Alternative Recipes Similar to This One
How to Store or Freeze Your Pickles
Ensure your mason jars are clean and dry before use. Sterilizing them in boiling water for a few minutes is a good practice to prevent any unwanted bacteria from spoiling your pickles.
Once the pickles are submerged in the brine and the jars are sealed, place them in the refrigerator. The pickles need at least 24 hours to develop their flavor, but they will taste even better after a few days.
Store the jars in the coldest part of your refrigerator, typically the back of the bottom shelf. This ensures a consistent temperature, which is crucial for maintaining the crunchiness and flavor of your dill pickles.
For longer storage, make sure the pickles are always submerged in the brine. If you notice the liquid level dropping, top it off with a mixture of equal parts water and vinegar.
If you want to freeze the pickles, transfer them to freezer-safe containers or heavy-duty freezer bags. Leave some space at the top of the container or bag to allow for expansion as the liquid freezes.
Label the containers with the date of preparation. Refrigerator dill pickles can be stored in the freezer for up to 6 months. When ready to use, thaw them in the refrigerator overnight.
Keep in mind that freezing may alter the texture of the pickles, making them slightly less crunchy. However, the flavor will remain intact, making them perfect for use in salads or as a tangy addition to sandwiches.
Always use clean utensils when handling the pickles to avoid introducing any contaminants. This helps in maintaining their freshness and extending their shelf life.
If you notice any off smells, discoloration, or mold, discard the pickles immediately. Proper storage and handling are key to enjoying your homemade refrigerator dill pickles safely.
How to Reheat Leftovers
Quick Warm-Up Method: If you prefer your pickles slightly warm, place them in a microwave-safe dish. Heat on medium power for about 20-30 seconds. Be cautious not to overheat, as this can make the cucumbers too soft.
Stovetop Simmer: Pour the pickles and brine into a small saucepan. Heat over low to medium heat until they reach your desired temperature. This method helps maintain the crunchiness of the cucumbers while warming them evenly.
Oven Method: Preheat your oven to 250°F (120°C). Place the pickles in an oven-safe dish, cover with aluminum foil, and heat for about 10-15 minutes. This gentle method ensures the pickles stay crisp.
Sous Vide Technique: For a gourmet touch, place the pickles in a vacuum-sealed bag and submerge in a sous vide water bath set to 140°F (60°C) for about 15 minutes. This method evenly warms the pickles without compromising their texture.
Warm Water Bath: Place the sealed jar of pickles in a bowl of warm water for about 10 minutes. This method gently warms the pickles without making them mushy.
Room Temperature: If you prefer not to use heat, simply take the pickles out of the refrigerator and let them sit at room temperature for about 30 minutes before serving. This will take the chill off without altering their texture.
Essential Tools for Making Dill Pickles
Saucepan: Used to combine water, vinegar, sugar, and salt, and bring the mixture to a boil.
Stirring spoon: Essential for stirring the brine mixture to ensure the sugar and salt dissolve completely.
Measuring cups: Necessary for accurately measuring the water, vinegar, and cucumbers.
Measuring spoons: Used to measure out the sugar, salt, dill seeds, and red pepper flakes.
Mason jars: Containers for placing the cucumbers, garlic, dill seeds, and red pepper flakes, and for storing the pickles in the refrigerator.
Knife: Needed to slice the cucumbers and smash the garlic cloves.
Cutting board: Provides a safe surface for slicing the cucumbers and smashing the garlic.
Ladle: Helpful for pouring the cooled brine over the cucumbers in the mason jars.
Tongs: Useful for handling the cucumbers and placing them into the mason jars.
Refrigerator: Essential for storing the sealed jars and allowing the pickles to develop their flavor.
Time-Saving Tips for Making Pickles
Prepare the brine in advance: Make the brine a day ahead and store it in the fridge to save time on the day you want to pickle.
Use a mandoline: Slice the cucumbers quickly and uniformly with a mandoline slicer.
Pre-smash the garlic: Smash the garlic cloves in bulk and store them in an airtight container for easy access.
Batch your jars: Set up all your mason jars and ingredients in an assembly line to streamline the process.
Label and date: Label your jars with the date of preparation to keep track of pickling time.
Refrigerator Dill Pickles Recipe
Ingredients
Pickling Brine
- 2 cups water
- 1 cup white vinegar
- 1 tablespoon sugar
- 1 tablespoon salt
Pickles
- 4 cups cucumbers, sliced
- 4 cloves garlic, smashed
- 2 teaspoon dill seeds
- 1 teaspoon red pepper flakes
Instructions
- In a saucepan, combine water, vinegar, sugar, and salt. Bring to a boil, stirring until sugar and salt dissolve. Remove from heat and let cool.
- Place cucumbers, garlic, dill seeds, and red pepper flakes in mason jars.
- Pour cooled brine over cucumbers, ensuring they are fully submerged. Seal jars and refrigerate for at least 24 hours before serving.
Nutritional Value
Keywords
More Amazing Recipes to Try 🙂
- Fried Zucchini Recipe25 Minutes
- Eggless French Toast Recipe20 Minutes
- Reheating Pasta Recipe15 Minutes
- Potato Latkes Recipe35 Minutes
- Beignets Recipe30 Minutes
- Air Fryer Breakfast Frittata Recipe30 Minutes
- Eggless Strawberry Ice Cream Recipe6 Hours 15 Minutes
- Breaded Tenderloin Sandwich Recipe35 Minutes
Leave a Reply